Zoho CRM KVK integration - usage guide
Installation
Summary
2. Installing the Zoho Marketplace extension
2.1.2 Registration
2.2 Creating the KVK connection
1. Requirements
1.1 Getting the KVK api key
This step can be skipped if someone already has a KVK apikey.
First we have to get the KVK API key.
We can do this at their website: https://developers.kvk.nl/apply-for-apis?step=api-connection
After this is done, you will have to sign in to the Developers KVK area at https://developers.kvk.nl/login
After logging in you will see an overview for your account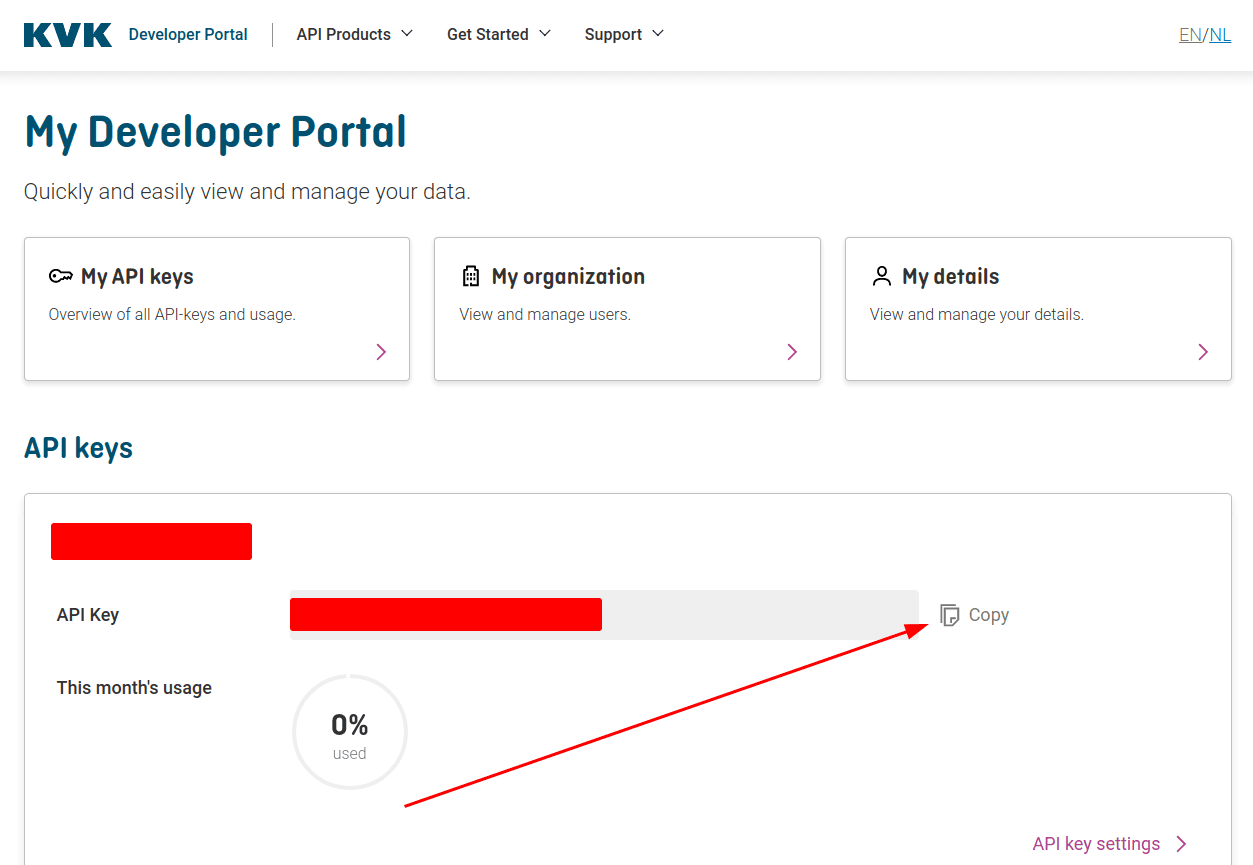
You should copy the API key and save it somewhere for later.
2. Installing the Zoho Marketplace extension
First we should install the Zoho CRM Extension.
You can click the button below to install this:
2.1 Connecting to Connectick
After installing the extension you will be met with the following popup:
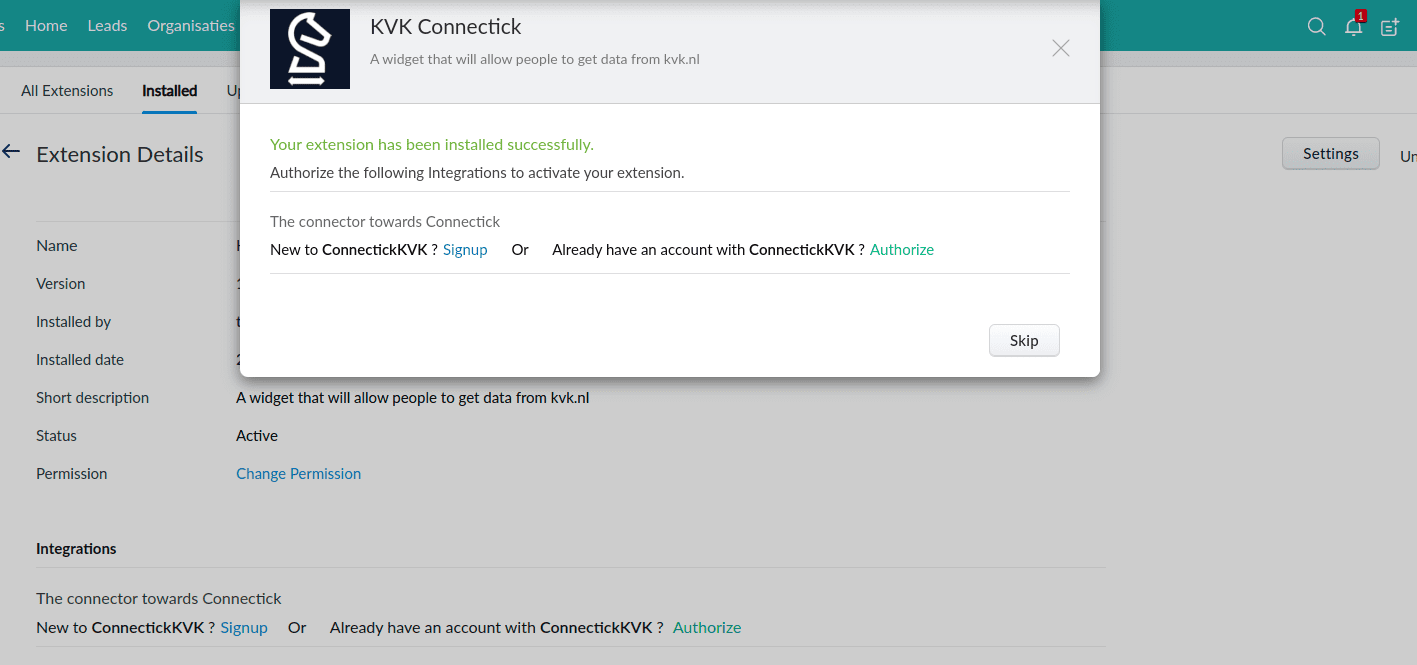
Click on Authorize.
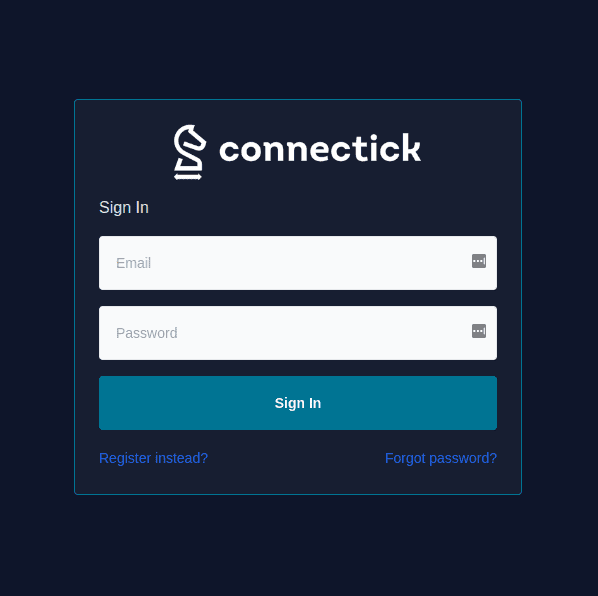
A small popup will open and ask you for the credentials of Connectick.
If you do not have an account yet, you can press "Register instead?" and fill out the registration form.
We require users to setup multi factor authentication in the registration process, this is because of security measures.
After the login/registration you will be greeted with the following page:
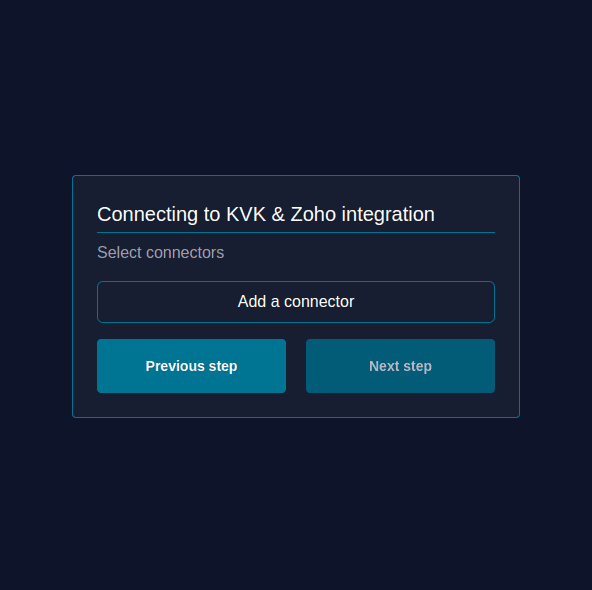
Click on Add a connector.
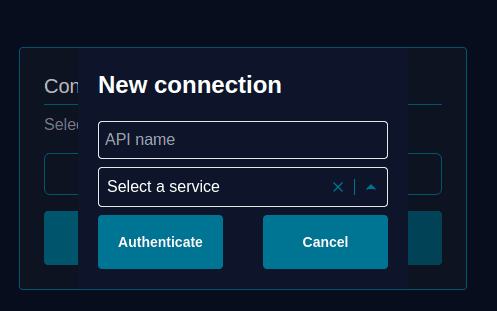
In this popup you can fill in:
API name, this should be something like KVK
Select a service, select KVK here
After doing that you can fill in the API key from step 2.1 and click on Authenticate.
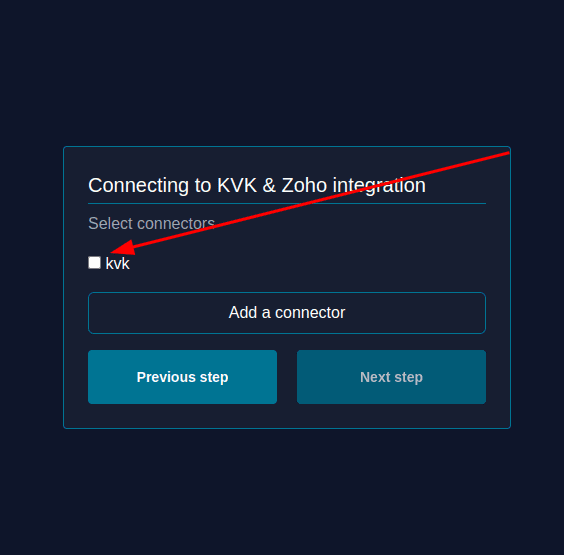
Then check the KVK option and click on "Next step".
After that you can click on Submit and this process done.
2.3 Fieldmapping
If you want to change or add the fieldmapping, go to one of the supported modules (Accounts/Leads) and click on the KvK button in the top right corner.

After opening the widget the following screen will appear: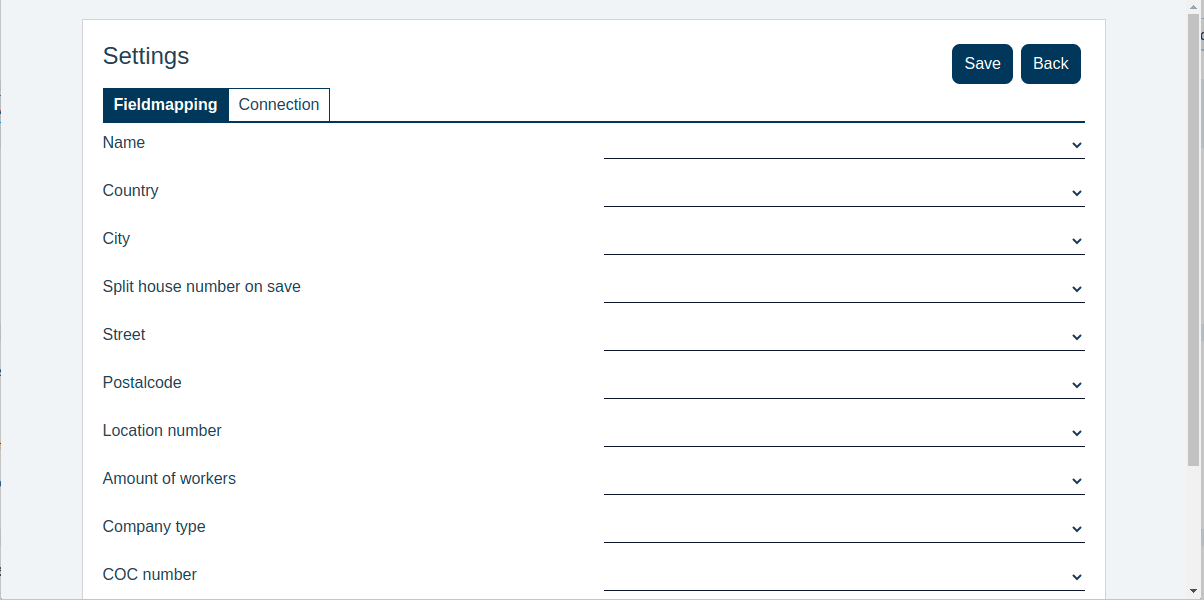
Here you can select the fields which you want to map, for example Name (from the KVK) should go into the Company field.

After this you can click save and after that on "Back".
3. Using the widget
After opening a record in one of the supported modules (Accounts/Leads) you can click on the button in the top right:
This will open the widget: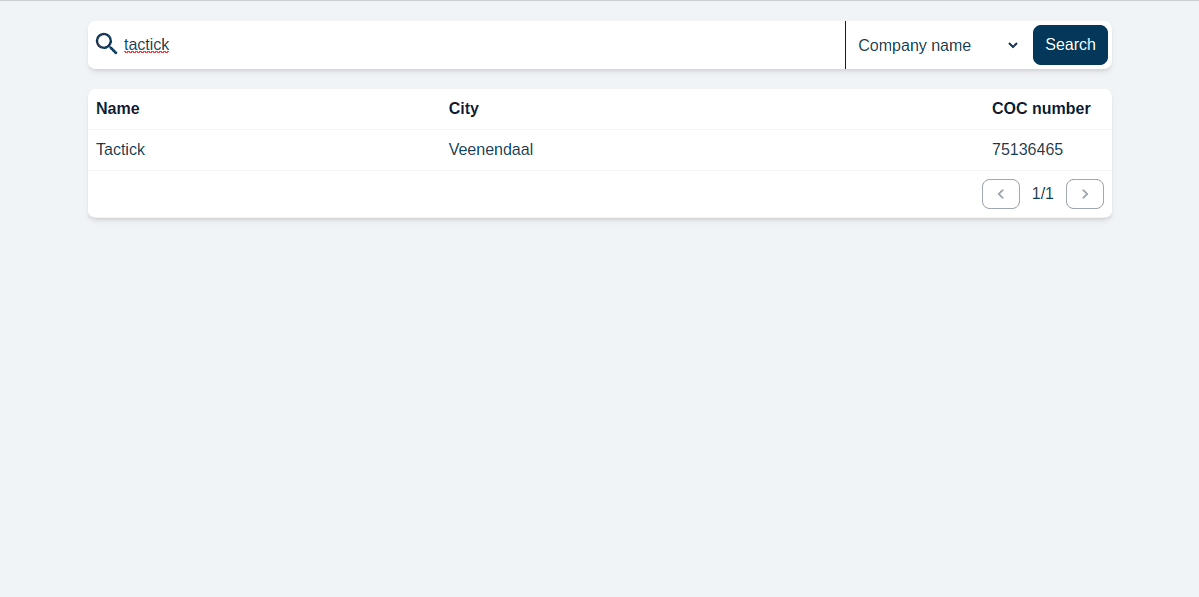
It will always prefill the name based on the fieldmapping provided.
You can click on the settings icon if you ever need to change the fieldmapping.
3.1 Searching

When you want to search a company, you can do this with the following options:
- Company name
- COC number
- RSIN
- Location number
You can change this by clicking on "company name" next to the search bar.
3.2 Selecting a company
After searching you can click on a result and the details of that company will appear:
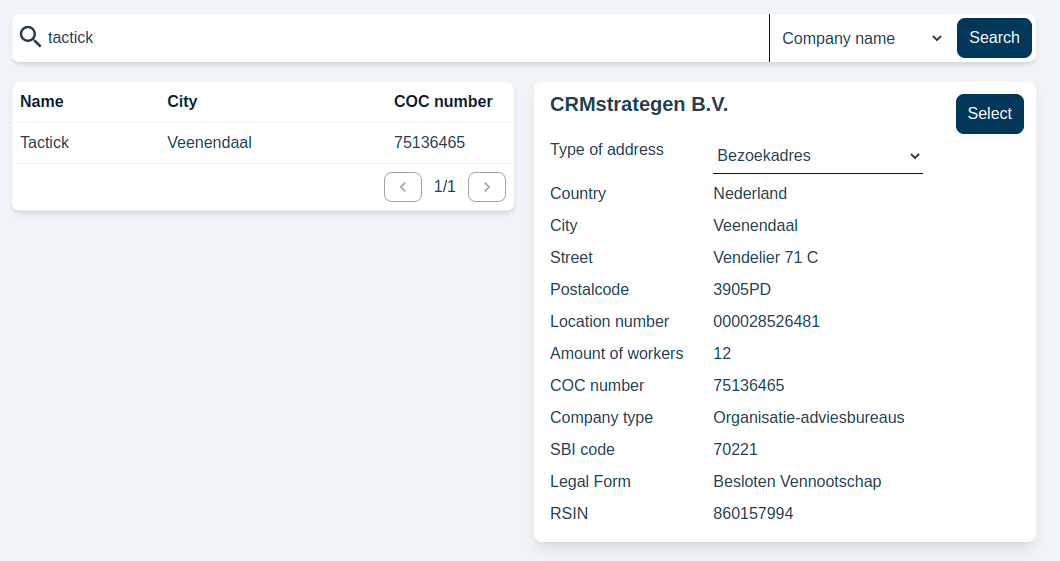
You can switch the type of address if there are multiple addresses found for this company.
After that you can click on the Select button and the record will update.